
After going through numerous steps,
it’s finally time to add reverb and delay, the flowers of mixing.
Let me briefly recall my first mixing experiences:
I always overused reverb and delay,
trying to make the music sound as grand as possible.
Because I played electric guitar,
I had a blind faith that spatial effects could solve everything.

Some of the data is missing
Space-based effects, when used well,
can be excellent “cosmetics” for a mix,
bringing it to life and smoothing over awkward transitions between tracks.
However, just like heavy makeup can look unnatural,
using too much can make the entire mix sound dated or reduce its clarity and impact.
Since explaining the spatial effects on every instrument would be too complex,
I’ll briefly introduce only the ones used on the main vocals.
1. Setting the song’s direction and reverb
There are many diverse and creative ways to use reverb,
including the insert method, send-return method,
and even instrument-specific reverbs.
When using EQ and compressors, it’s good to have some rules in place.
In contrast, the freedom to use spatial effects is quite high.
However, this also presents many challenges.
Unlike direct tracks where you hear the sound immediately,
reverb and delay mix in from behind,
making it easy to become confused after a long mixing session,
wondering ‘How much of this is actually applied?’
Additionally, during the recording process,
the natural reverberation of the recording space can be captured along with the sound,
making it difficult to distinguish between pre-existing reverb and the reverb you’ve added.

When expressing space in mixing, there are generally two main concepts:
1) mimicking a real space
2) creating an imaginary space.
This allows you to consider in advance
which direction to take when creating space.
Will you aim for naturalness by mimicking a real space,
or will you create an imaginary, otherworldly space?
This starts to influence your choice of reverb plugin.
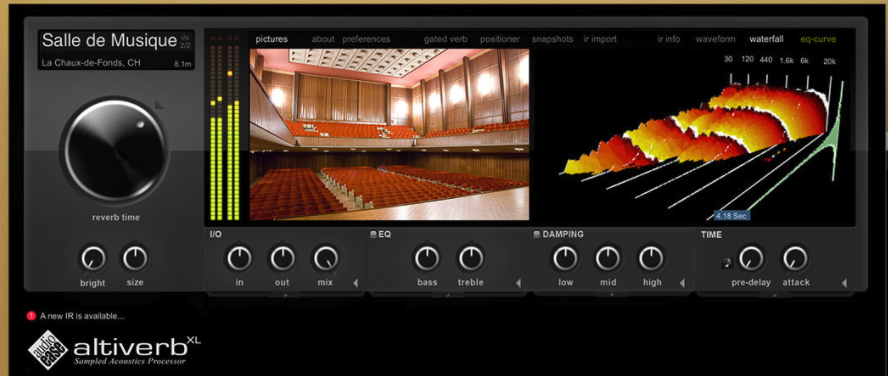
Reverb plugins are created in two main ways:
- Convolution Reverb, which is made using the impulse response of a real space.
- Algorithmic Reverb, which is created using computer algorithms.
(I’ll post a more detailed explanation about reverb later.)
Doesn’t that seem related to the concept above?
If you don’t know which reverb plugin to choose at the beginning,
first think about which concept you want to approach, as explained above.
If you imagine a realistic space, you can use a Convolution type of reverb.
If a technical method comes to mind first, you can use an Algorithmic type of reverb.”
In this song, as a result of communicating with the artist,
they wanted to create a slightly dreamy and modern sound,
similar to Honne, rather than a natural sense of space.
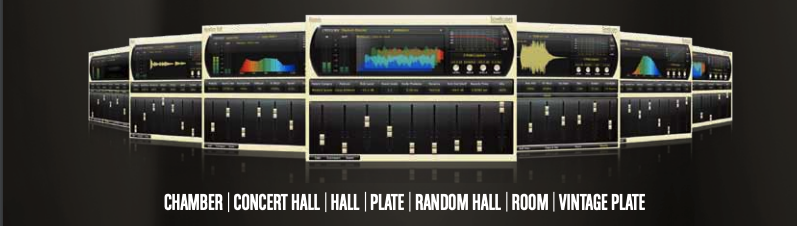
The author primarily uses the Lexicon PCM Reverb plugin,
which is an algorithmic reverb.
This is because, especially with pop music,
they aim for a dreamy sound rather than a realistic feel.
Even among algorithmic reverbs, which can sometimes sound a bit artificial,
this one produces a very natural sense of space.
It’s their preferred reverb because it offers many customization options.
To create this kind of sound, let’s go over a brief theoretical explanation.
Reverb is primarily controlled by two distinct factors:
- Early Reflection: This is the first sound reflection that bounces back to you.
- Reverb Time (RT): This is the time it takes for the reflected sounds to decay,
in other words, how long they ring out.
If you understand these two concepts, you’ll be able to hear changes in reverb much more clearly.
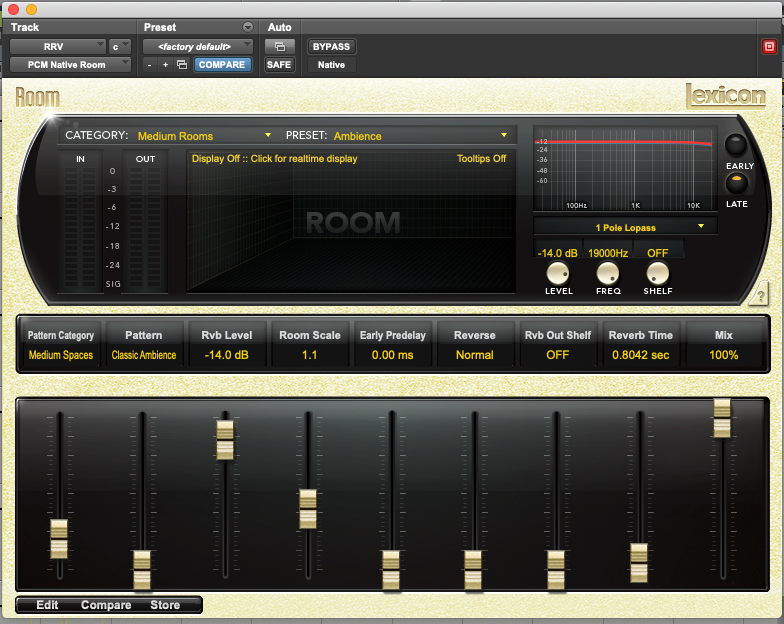
If you listen to Honne’s sound,
you’ll notice that the reverb doesn’t trail off but cuts off short.
To emphasize this feeling, I used a room-style reverb
rather than a long hall-style reverb.
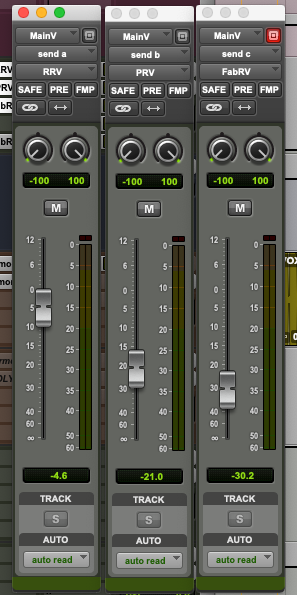
Although using just one reverb is fine,
to add a more natural feel and texture,
I also subtly blended in a Plate Reverb and the FabFilter Pro-R reverb
to create a slight echo and unique character.

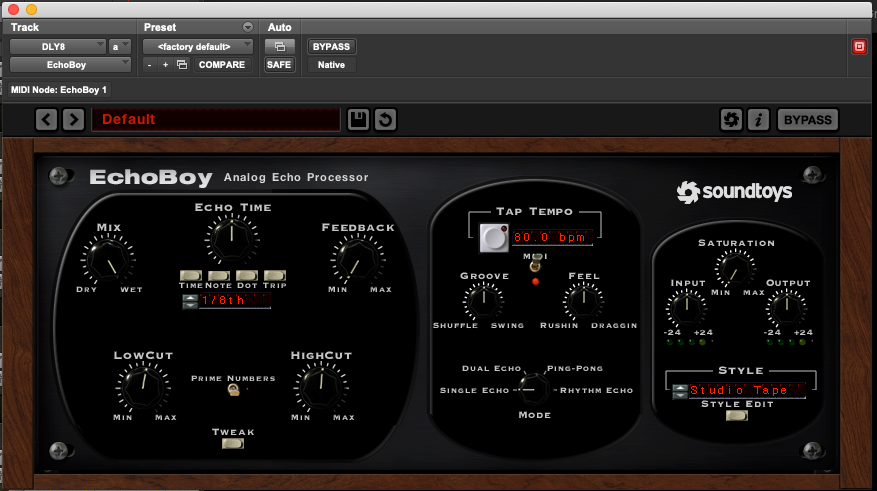
2. Delay
Unexpectedly, many people can’t distinguish between reverb and delay.
To briefly explain the difference between the two in an easy-to-understand way:
- Reverb is the result of countless delays with different timings all coming together.
- Delay is a simple repetition, while reverb expresses the reverberation of a space.
People often use the term “echo,” but strictly speaking,
an echo is a delay created in nature with a bit of reverberation included.
You can think of it as sitting somewhere between reverb and delay.
In the past, the focus was on using a lot of reverb to create grand, hall-like sounds.
However, the current mixing trend is to create clean sounds primarily using delay.
I also usually start my mixes with delay.
But for this particular song, the goal was to create a distinct spatial sound,
so I explained reverb first as an exception.
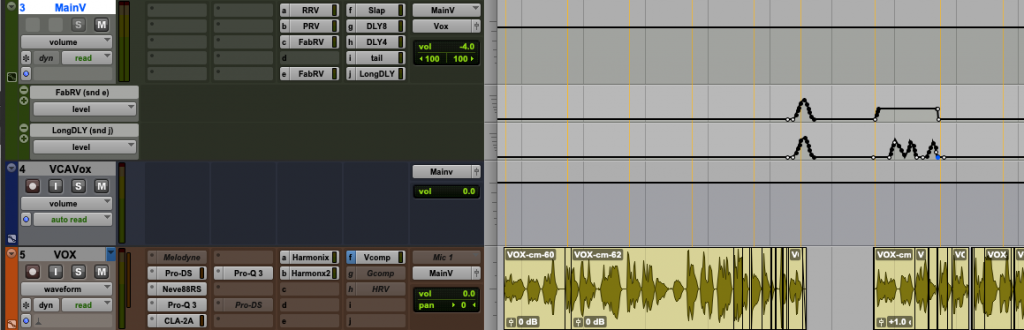
Because I’m not always sure which delay to use,
I typically create multiple tracks for different delay lengths and use them as needed.

Main Vocal With Only Reverb
48kHz/24bit Wav File
Main Vocal With Only Delay
48kHz/24bit Wav File
Main Vocal With Reverb & Delay
48kHz/24bit Wav File
3. Tail
Lastly, it’s time to add the final, detailed touches to the spatial elements.
You might feel that the space is already well-established and the mix is complete.
At this point, you add one more step: filling in the missing Tails.
A Tail, as the name implies,
is a slight resonance added to the very end of the vocal, like a tail.
This technique can further emphasize a dreamy atmosphere and fill in any empty space,
which results in a much more polished and sophisticated sound.

However, the disadvantage is that Tails can make the entire
mix sound messy if they overlap with the vocal,
so they must be used with considerable restraint.
1. Main Vocal With Tail Off
48kHz/24bit Wav File
2. Main Vocal With Tail On
48kHz/24bit Wav File
I brought a file that highlights the tail at the end of (I’ll stay up all night again) from the song.
If you listen to File 1, the main vocal ends before the vocal chorus,
so it feels disconnected. By adding a Tail delay,
you can naturally bridge the gap between the main vocal and the chorus, as heard in File 2.
Using this technique sparingly in specific,
necessary moments—rather than everywhere—can be a great help in
creating atmosphere without interrupting the flow of the song.
4. Conclusion
Final Without Reverb & Delay
48kHz/24bit Wav File
Final With Reverb & Delay
48kHz/24bit Wav File
The creativity involved in crafting spatial sound is truly boundless.
You can imitate and then transform real spaces to create your own,
or you might find yourself thinking,
“Hey, this sounds similar to a particular space’s acoustics”
while working on an imaginary, non-existent one.
Regardless of the method or concept you approach it with,
the crucial point is to create a space that complements the
music and brings life to the instruments and vocals.
Two stereo speakers create a two-dimensional image through
frequency range and panning.
Reverb and delay then introduce a new dimension to this image: Depth.
How you approach this process will determine whether
your music ends up sounding flat or possessing depth.
It’s quite clear which type of music is more artistic, wouldn’t you agree?

it feels like a limited space sprinkled with a moist reverb